Many Mac users have upgraded to the latest macOS Ventura , since its launch in October 2021, to get the benefit of better performance, innovative UI, and various innovative features. However, after upgrading their Mac to macOS Ventura , some users reported data loss. This blog lists some best methods to recover data on Mac after the macOS Ventura update.
Steps to Recover Lost Data after MacOS Update
Below we have listed some effective methods that can help you recover data after a macOS update:
Method 1: Recover Data from Trash
Whenever you come across a data loss situation, make sure to check the Trash folder on your Mac. The Trash folder stores the recently deleted files and folders for a period of 30 days until you manually empty the Trash. To find and restore the deleted files from the Trash folder, follow the below-given steps:
- Click the Trash icon in the Dock.
- If you’re aware of the file name, type the file name in the search bar and press Enter. If not, search for the files or folders in the Trash.
- Right-click on the required file/folder and click on Put Back.
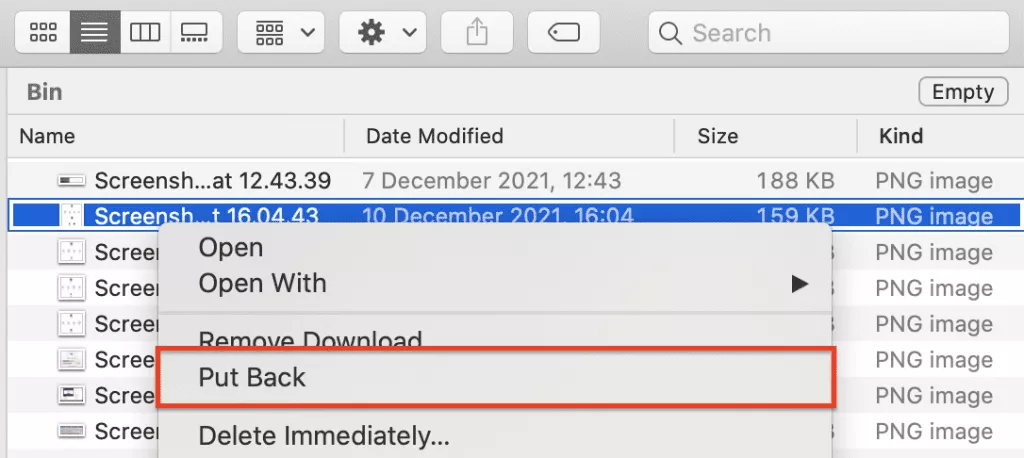
- The file will be restored to its original location.
Method 2: Recover Lost Data from Time Machine Backup
Every Mac comes with an inbuilt application known as Time Machine. It is used to take backup of your Mac data on an external storage device. If you’re using Time Machine, then you can use it to recover your lost files on Mac after the macOS Ventura update. Follow the below-given steps:
- Attach the external storage device with the backup created using Time Machine to your Mac system.
- Open a Finder window in the folder from where you have lost the file. Then, select the Enter Time Machine option.
- In the backup list, search for the latest file and open it. Then, search for the items you want to recover.
- Once located, select the files.
- At last, click on Restore. The files will be restored to their original location.
Method 3: Recover Data from iCloud Backup
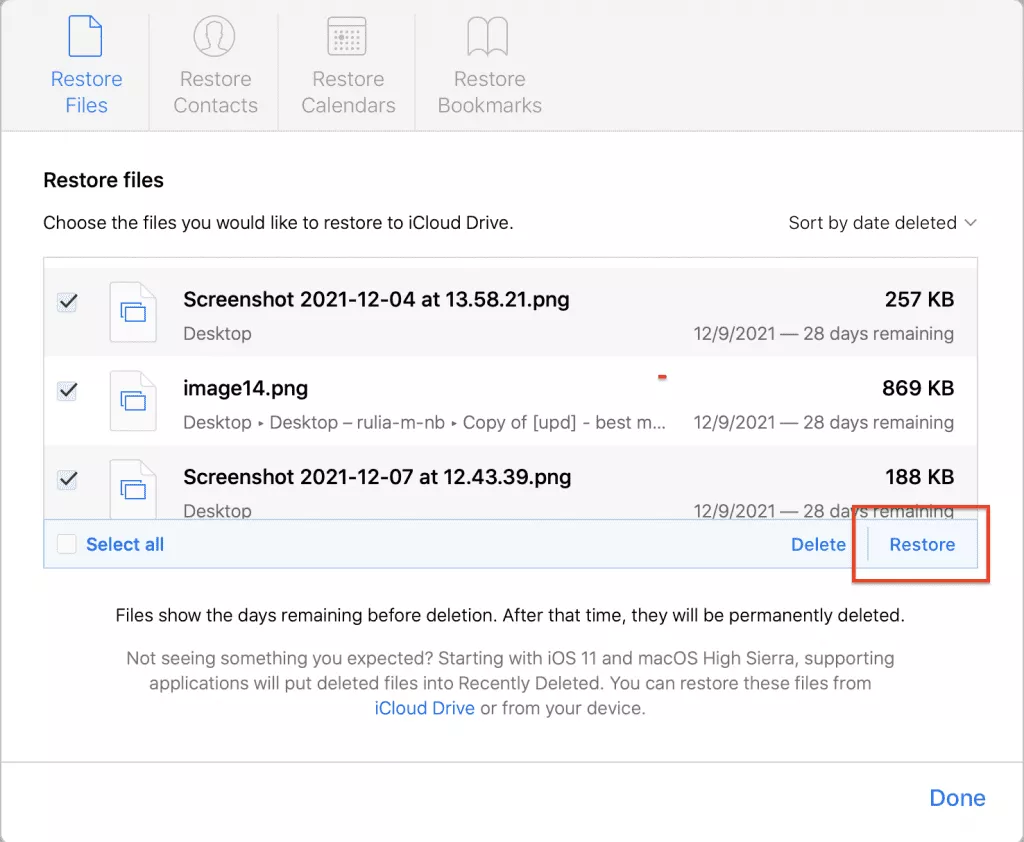
Some users back up their data on iCloud – a cloud service provided by Apple. If you’re using iCloud backup, this method will work for you. Follow the below-given steps to get back your lost data from iCloud:
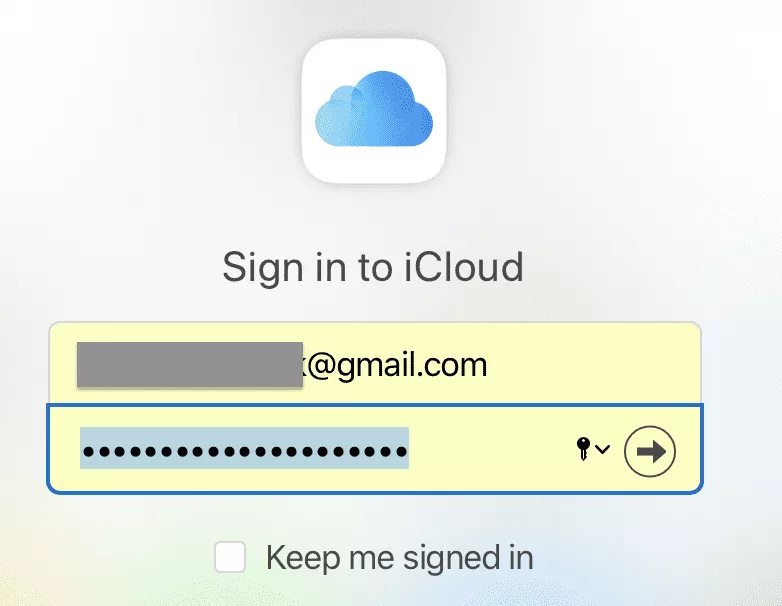
- Log in to iCloud.com using your Apple ID and Password.
- Then, click on the Account Settings option.
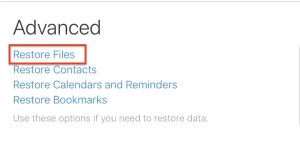
- Under the Advanced section, click on the Restore Files option.
- Find the lost files and mark the checkbox against their name.
Note: To restore all the data, mark the Select All checkbox.
- At last, click the Restore Files option. It will download and restore your lost files to Mac’s internal storage.
Method 4: Recover Data using Mac Data Recovery Software
None of the above methods worked? Don’t worry! There’s still a way to get back your data. You can use professional data recovery software such as Stellar Mac Data Recovery software. This is a DIY data recovery software that can help you easily restore your lost data after a macOS Ventura update.
Follow the below-given steps to recover lost files after the macOS Ventura update:
- Download, install and run the Stellar Mac Data Recovery software.

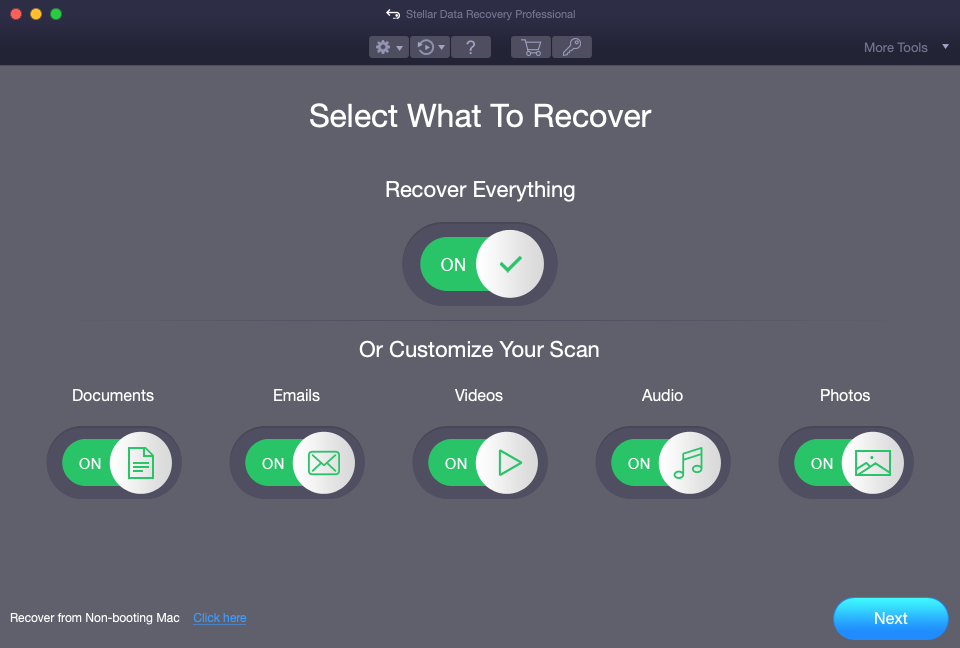
- From the Select What to Recover window, choose the file type you need to recover and click on Next.
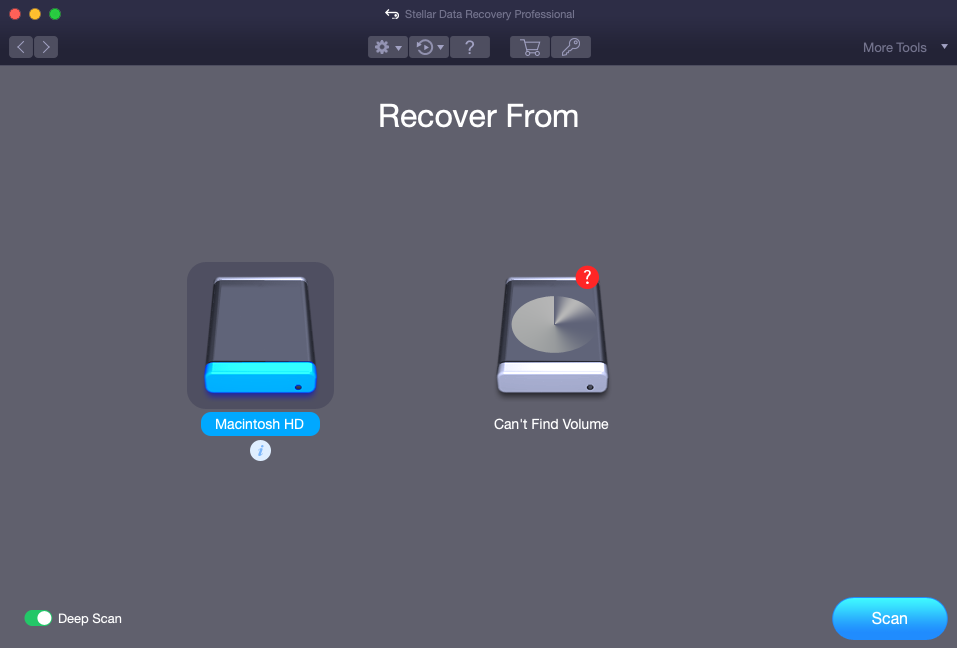
- In the Select Location window, select the drive where the lost data was last stored. Then, click on Scan.
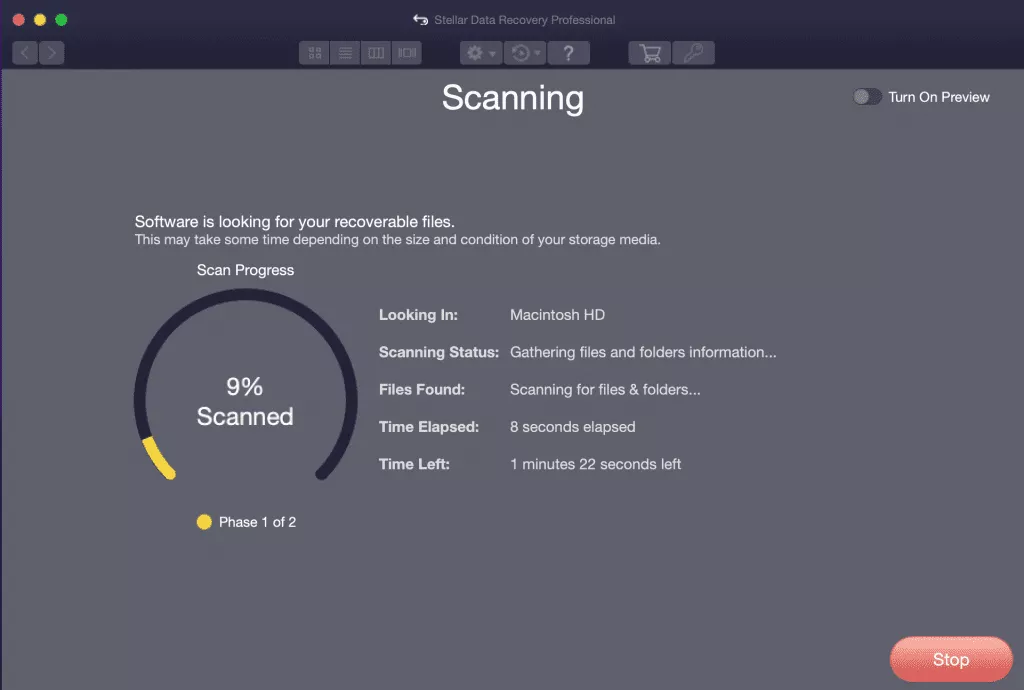
- Wait until the Scanning process completes and then click OK.
- After that, preview the recovered files and select the files you want to recover and then click on Recover.

- Lastly, save the recovered files at your preferred location (other than the original location).
Summing It Up
While updating the Mac with the new macOS, data loss is possible. However, you can follow the above-given methods to retrieve the lost data after the macOS update. For easy and quick recovery of data, you can use a professional data recovery software for Mac, such as Stellar Mac Data Recovery. The software can recover lost or deleted data in just a few simple steps.


