| Summary: Western Digital is one of the biggest, most reliable, and trusted name brands in computer storage solutions, but even they are not infallible. If your WD My Passport is not showing up on Mac, worry not — there are several solutions you can try.
The fixes, so to speak, are listed in order of probability as well as difficulty, so the table of contents should serve as an ordered checklist, and not just an index. |
|---|
Here are the several different “failures” that will be addressed in this article:
- WD my passport light blinking but not working
- WD my passport not showing up in disk utility
- WD hard disk not detected on Mac
- WD hard disk not showing up in Finder
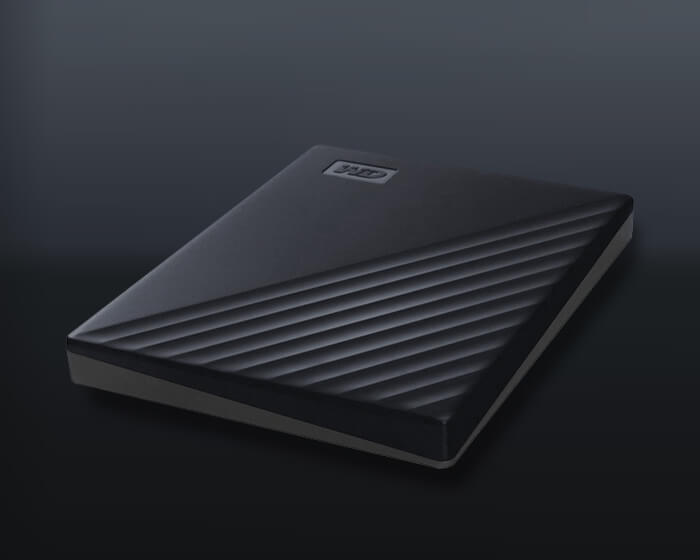
Table Of Contents:
- Basic Checks
- Antivirus Settings
- Driver Check
- Check Your Mac Display Settings (Finder Preferences)
- Reset The RAM
- Try Disk Utility
- Recover Data And Format The Drive (Worst Case)
Also Read: Top 10 Data Recovery Software for Mac

1. Basic Checks – WD My Passport not showing up Mac
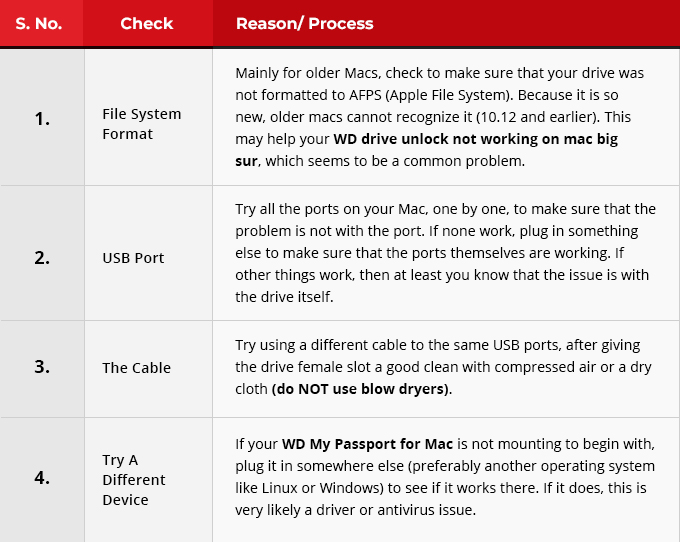
Before heading down what may turn out to be a rabbit hole, make sure that you haven’t jumped the gun and assumed that there is a problem with your hard disk or Mac.
Perform these simple checks to figure out where the problem lies, whether with your Mac or with the Hard Disk.
2. Antivirus Settings
A small note, but worth mentioning is to make sure that any third-party antivirus that you may have installed (KasperSky or Norton, for example), are not blocking your drive.
You can check this by launching the antivirus home page and navigating to “scan preferences”. Most decent companies will have a “preferences tab” where you can go and exclude the disk from scans.
Note: This will only work if your drive manages to mount itself.
3. Driver Check – WD My Passport not showing up Mac
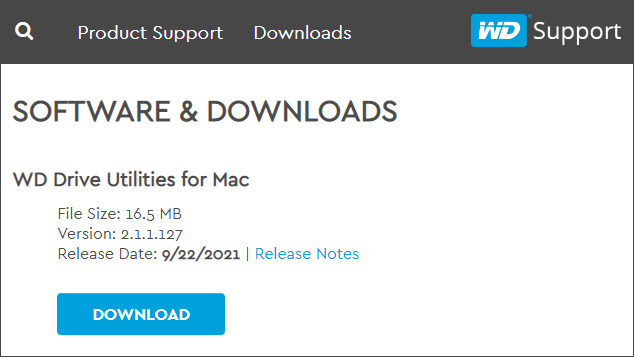
From time to time, Western Digital releases new patches and bug fixes for operating systems.
It is worth installing and running the latest macOS driver that has been released for the WD My Passport.
You can do so by navigating to this link (it is on Western Digital’s official website, so do not worry about file security) and then clicking on the download button.
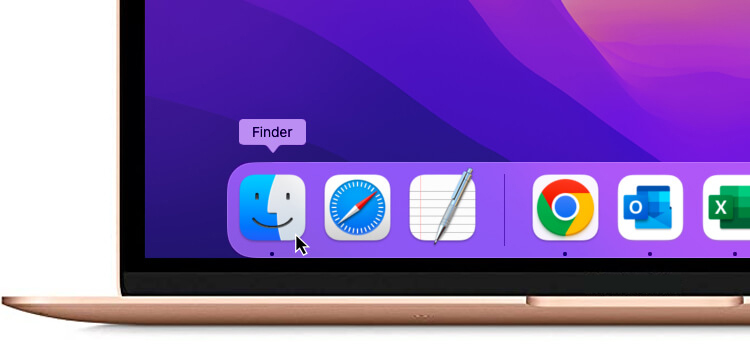
Once the file has been downloaded, go to Finder and double-click the file — that’s it, your firmware has been updated to the latest version.
While you’re at it, check out this link to download WD Discovery for Mac, which is a light desktop application that checks for security and firmware updates over the cloud.
4. Cross-Check Finder Preferences – WD My Passport not showing up Mac
It is pretty basic, if your WD My Passport is not showing up on Mac, but is showing up elsewhere, your display settings may be to blame.
Navigate to:
> Finder (Top Left)
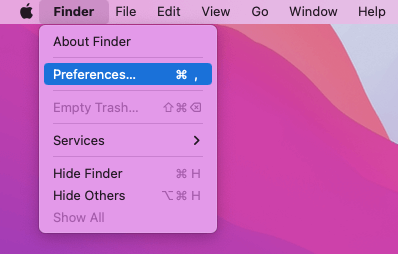
> Preferences
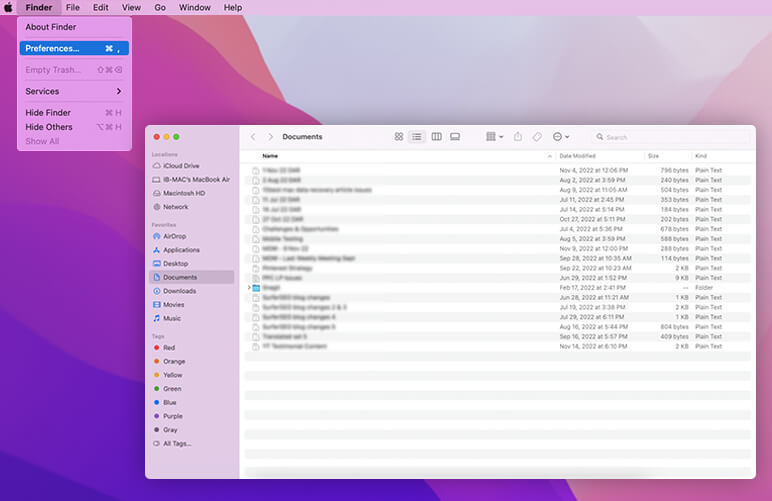
> In The Dialog Box that opens up, make sure that “Hard Drives” is checked.
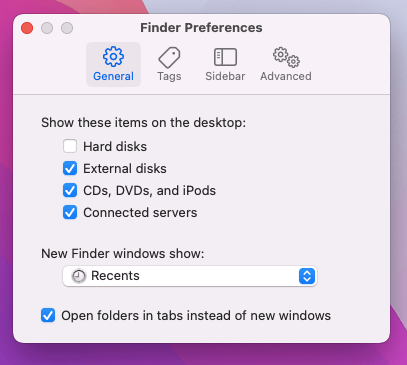
If this still doesn’t work, try the following:
Finder > Preferences > Sidebar > Scroll Down to “Locations” > Make sure that the list item “External Disks” is ticked.
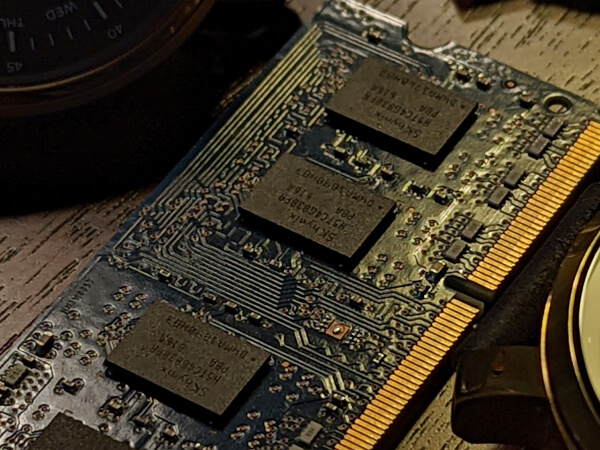
5. Reset The RAM
By this, we mean to reset the NVRAM (For Intel-based iMacs or Macbooks) or PRAM on older devices.
PRAM is a type of NVRAM, though it is not used anymore.
NVRAM stands for Non-Volatile Random Access memory, and both these RAMs serve the same purpose: to store information about connected devices even when power to the device motherboard has been cut.
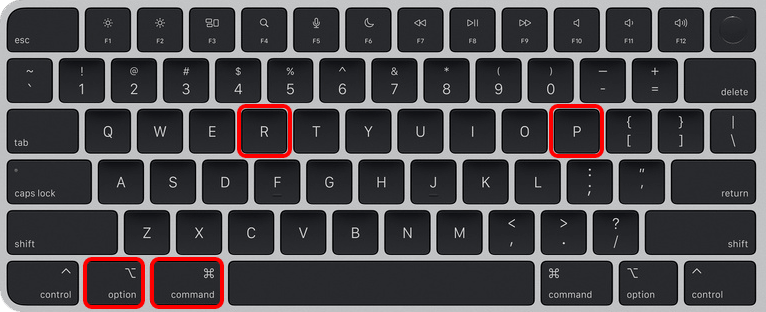
Here is how to reset your NVRAM/ PRAM:
- Power off your device.
- Power it on.
- Immediately Press the following keys: Command > Option > P > R

- Let go of these keys when you hear the second “ting” or see the logo appear a second time.
This method can (sometimes) help fix data missing on WD My Passport on Mac too.
6. Give Disk Utility A Shot
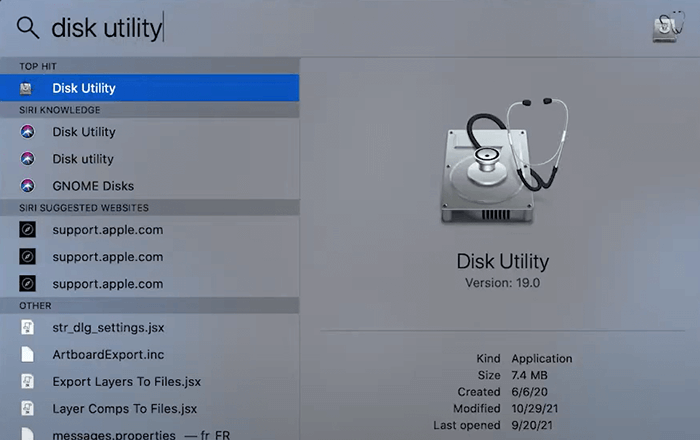
- Go to the launchpad (bottom left of the dock).
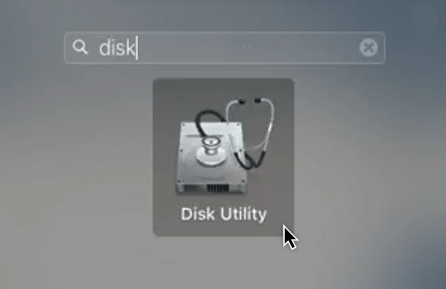
- There, in the search bar, type in “Disk Utility”
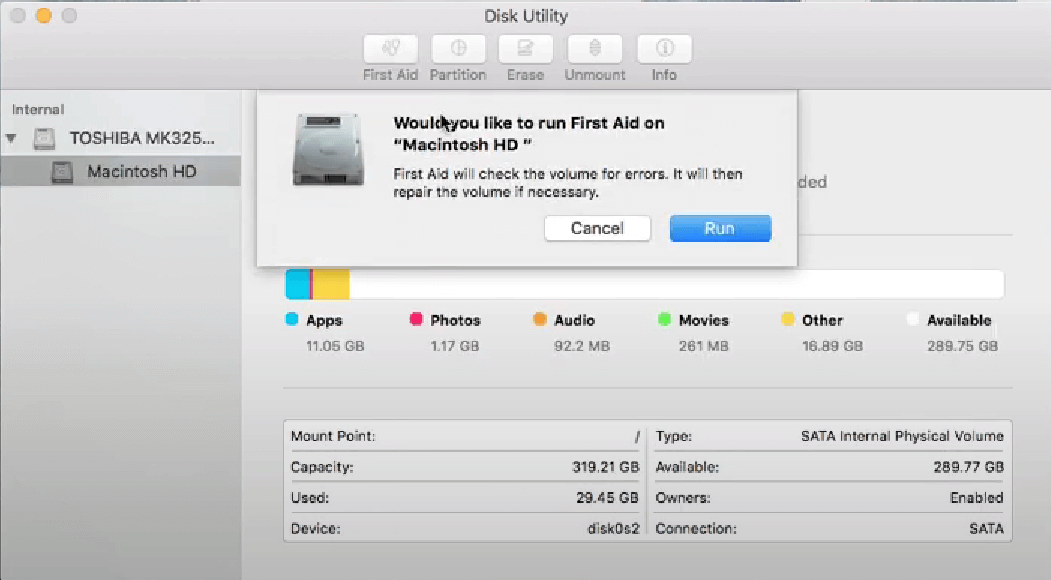
- There, select your drive and click on “First Aid”.
- In the pop-up dialog, click “Run”.
If your WD hard drive is not showing up in disk utility, we have only one option left and that is to reformat the drive to a new file standard.
Before that though, try to force mount the drive in the following steps:
- Navigate to Disk Utility.
- In the left pane, click “show all devices”.
- Click your My Passport and then click “mount”.
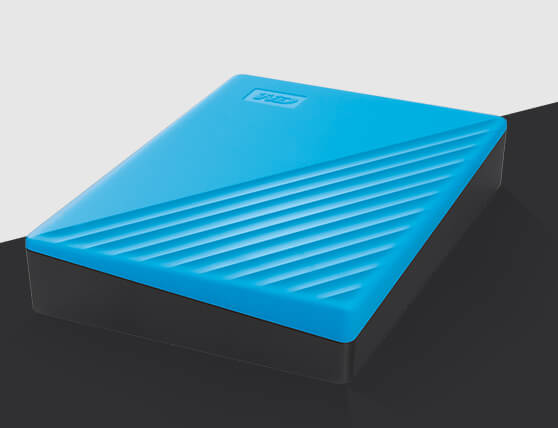
7. Reformat The Drive
If all else fails, there is always the holy grail of device-saving: the hard reset. If your data is really important and cannot be lost, there is still hope.
First, try (for free) the best Mac data recovery software from Stellar. Download, scan, preview your recoverable files, and then purchase. This ensures 100% guarantee that you’ll actually be able to recover the files you need, before you pay anything. In some cases, the external hard disk is physically damaged. In such case, you need a professional hard drive data recovery service.
These cover all sorts of scenarios, from physically damaged drives and bad sectors, to non-responsive drives and accidentally formatted ones, and they aren’t going to break the bank either.
Also Read: How to Recover Deleted Files From Mac Trash?
To format your My Passports, perform the following steps:
- Navigate To Disk Utility.
- Select The Drive.
- Click “Erase” (top of the window).

- For better longevity, reset the drive to “MacOS Extended”, if you plan to use it mostly on a Mac.

Endnotes
These simple fixes should have solved your problem, but if not, it may be time to seek professional help — whether for your hard drive or your macintosh device.
Whichever the case, there are plenty of options, both at-home and in-store.
That being said, we hope this article has proved useful and has helped your my passport for mac not working, and we’ll see you in the next one.


