Chapter 4 of 5 | Published On
To recover data from NAS, you need a data recovery service that has NAS data recovery specialists, a massive catalogue of hard drive spares, and a fully-equipped data recovery lab. Learn how Stellar Data Recovery brings together the best of physical and logical data recovery methods to achieve a phenomenal success rate with NAS data recovery.
In the last chapter, we learned about:
- What you shouldn’t do when your NAS fails
- Why rebuilding your NAS isn’t an experiment worth trying
- What you should do when your NAS fails
In this chapter, we'll explain:
- The four phases of recovering data from NAS
- The physical and logical processes in recovering data from NAS
- How to book a free 30-minute consultation for recovering data from your NAS
NAS continues to be an affordable storage solution for household users and SMBs. However, data loss in NAS isn't uncommon. Modern NAS boxes offer advanced configuration options (deduplication, virtualization support and iSCSI targeting). Because of this, users can easily trip over a setting and lose their data.
We see this all the time. Our NAS data recovery experts assist many NAS users every month. These NAS data recovery challenges involve
- NAS firmware corruption issues
- NAS configuration issues
- Physical damage to NAS boxes and many more
Here, we’ve explained our 4-step workflow to recover data from NAS. These four steps are:
- Free consultation
- Physical analysis
- Logical data recovery
- Data verification
Phase 1: Free Consultation
Every NAS system is different. While common causes of NAS failure are predictable, the solutions are unique. Each data recovery project is different, and its complexity depends on:
- Number of hard disks
- Capacity of the hard disks connected in the NAS box
- RAID configuration
- What activities were done (and not done) after the first signs of NAS failure
- And many more factors
Once you contact us, we offer a 30-minutes free consultation. On this call, one of our NAS data recovery experts will:
- Gather all necessary information
- Guide you about the next steps (so that your data loss situation doesn’t worsen)
- Inform you about the possibility of data recovery (in most cases, we can recover your data)
- Give you a tentative idea about the costs and timelines involved in NAS data recovery
- Tell you how to safely disconnect the hard disks from the NAS box
- Determine which hard disks you’ll need to dispatch to our data recovery lab
In rare cases, crucial RAID information is hard-coded in the NAS. We need this information to recover data from NAS. In such a rare case, you’ll need to send the NAS box also.
*This is uncommon. If needed, we will explain how you can safely deliver it to the nearest Stellar Data Recovery lab.
Phase 2: Physical Analysis
Any hard disk consists of five major components.
- Platter (where your information is stored)
- Read/write arm (which reads data from the platter and writes data to the platter)
- Spindle motor (which makes the platter spin)
- Actuator (which controls the read/write head)
- PCB (which controls I/O signals in the hard disk)
*The platter and read/write head are vulnerable to physical damage.
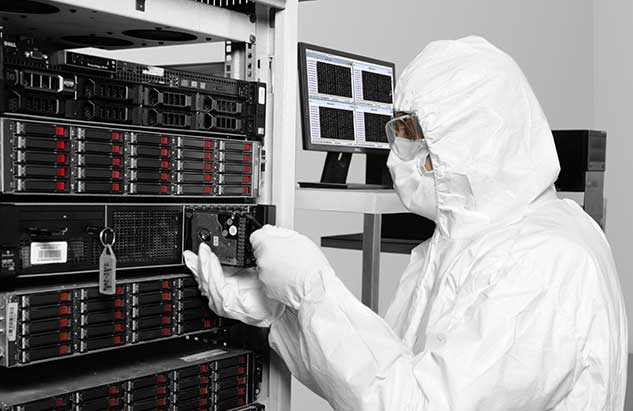
Our engineers carefully open up your hard disks in a state-of-the-art Class 100 Clean Room. They manually inspect all components for physical signs of
damage. They also check the PCB by using proprietary tools.
The most common issues that emerge during this phase are:
- Platter is scratched
- Read/write head gets clamped onto the platter
- Spindle motor spins down
- Electronic failure in the PCB
- Water damage to the PCB
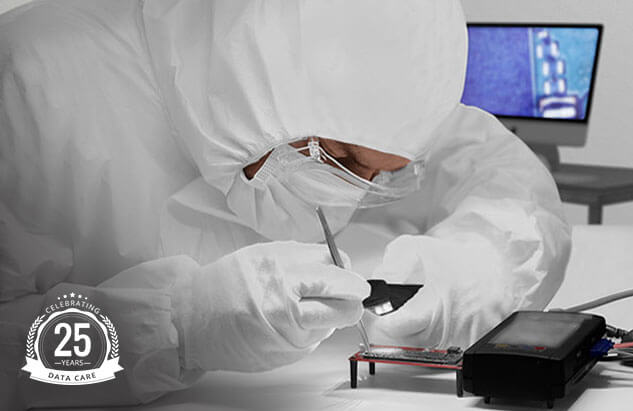
Our engineers decide on the next action. If required, they can replace the damaged hard disk parts with compatible parts.

Phase 3: Logical Evaluation and Data Recovery
The logical evaluation and recovery involve five steps.
1. Clone the hard disks byte by byte
We create a replica of your hard disk on an equivalent hard disk from our catalogue. This cloning process is carried out using secure proprietary technology. This software can clone even the contents of the HPA (Host Protected Area) and DCO (Device Configuration Overlay) areas of the hard disks.
2. Compare the cloned hard disks with original hard disks
We use proprietary disk verification software to compare the cloned and original hard disks on a sector-by-sector basis. This verification ensures that the cloned versions are 100% replicas of the original hard disks.
All subsequent steps are carried out on the cloned disks. This ensures that nothing can damage your original hard disks in any way. Also, this method lets us try out alternative data recovery methods if our primary plan isn't 100% successful.
3. Connect hard disks using the RAID tool
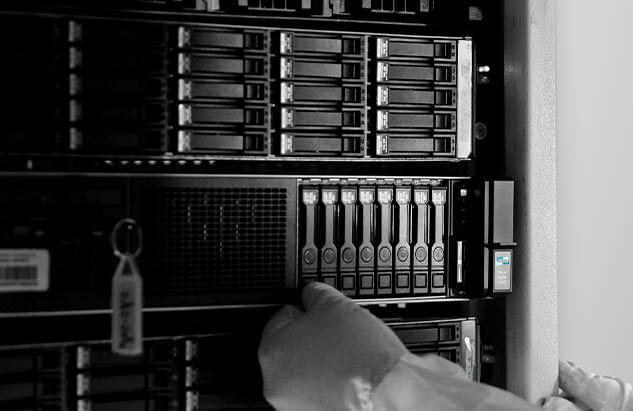
We need to re-create the original RAID configuration with your hard disks. For this, we connect the cloned hard disks using a proprietary RAID recovery tool. Once connected, we can find out the crucial information such as stripe size, data flow pattern, and parity flow from the hard disks. This information lets us recreate the original RAID configuration.
4. Recreate the RAID array
Once we find out the stripe size and parity bit movement, we recreate the RAID configuration using a customized program. Then, we study the index area in all cloned hard disks. This lets us understand what percentage of data can be recovered. We can also estimate the time required to recover this data.
5. Extract sample data and verify/Data integrity check
At this stage, we extract some sample files. This lets us confirm that the extracted data is exactly the same as the original. Once we verify the data integrity, we roll out the process for a full NAS data recovery.
Phase 4: NAS Data Verification After Recovery
Once we have recovered the required data, we request you to visit us. This is important because:
- You can verify the recovered data
- You can ask any questions to our engineers
- If you require, we can explain the efforts undertaken in the data recovery
- You can ask our engineers for the best practices that will minimise the risk of NAS failure
Also Read : How to Fix NAS Device Not Visible On Windows 10?
*If an in-person visit isn’t viable, we can arrange a remote verification. In this session, a Stellar NAS data recovery expert will assist you in verifying the data over Webex or TeamViewer.
We Recover Data from all Types of Network Attached Storage (NAS)
| ACER® | D-Link® | Hewlett Packard® | LaCie® | Promise® |
| Apple | Drobo™ | Hitachi® | LG® | QNAP® |
| Buffalo™ | EMC® | Asustor® | NetApp® | Seagate® |
| Cisco® | Freecom® | Lite-On® | Netgear® | Synology® |
| Dell™ | Fujitsu® | LevelOne® | Rackmount Storage Systems | Thecus® |
Don't see your NAS listed? Don't worry; Stellar® can recover data from any type or model of Network Attached Storage.
A Quick Recap
In this chapter, we learned how a professional data recovery service goes about recovering data from NAS. We explained:
- The bird’s eye view of what NAS data recovery looks like
- The factors that influence the complexity, cost, and timeline of NAS data recovery
- The 4 distinct phases of the NAS data recovery process
To recover data from NAS, call us today. Remember, you get a 30-minute free consultation, which is invaluable. We’ll ensure that you won’t commit any mistake that could worsen the NAS data loss. It’s very likely that we’ll be able to recover your data too.
