Chapter 2 of 3 | Published On
1. Repair Broken or Truncated MP4 files using VLC Media Player
MP4 is one of the most widely used video file formats. And the most common error associated with it is a broken or truncated file.

Your video might be freezing or skipping during playback, end abruptly or fail to play altogether.
Here’s how you can fix it.
1. Open VLC Media Player.
2. Go to Media and select Convert/Save from the drop-down menu.
3. Click on the Add button. Now, add the broken video file to VLC Media Player.
4. Click on Convert/Save.
5. Click on browse in the Convert file section.
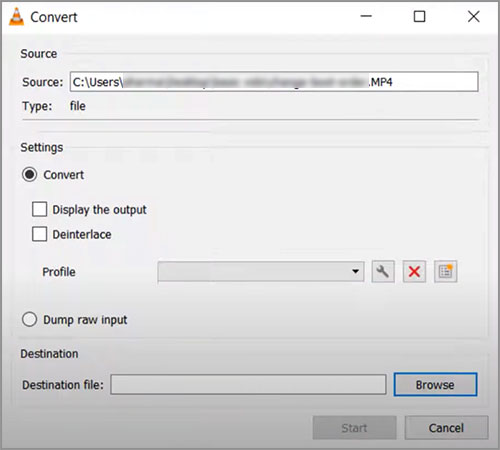
6. In the Destination section, choose where you want to save the converted file.
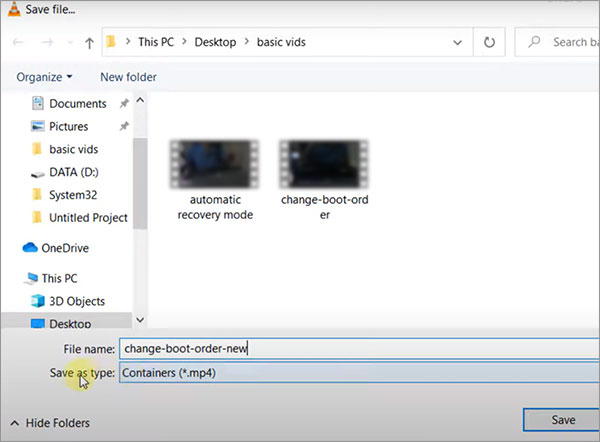
7. Click on the Start button to begin the conversion process.
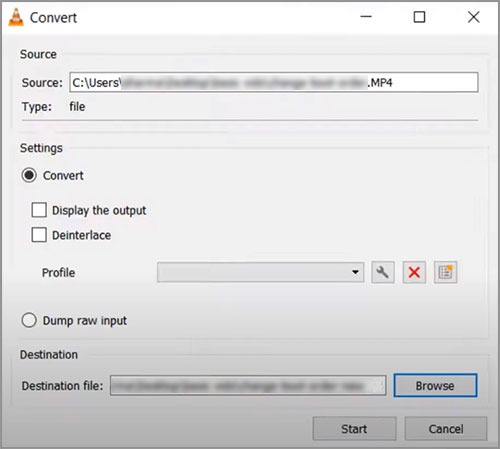
Once the conversion process is complete, you should have a playable file in the supported format. However, if the file is still broken, you can try using Stellar Repair for Video to fix it.
2. Use Virtual Dub to Fix Codec Issues in AVI Files
One of the most common issues with AVI files is codec problems. This can be a hassle as it is the most widely used for video playback and editing on Windows-based systems.
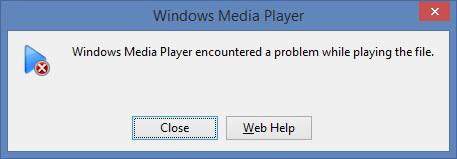
If you are facing issues with playback, such as audio or video distortion, freezing, or not playing at all, here’s what you should do.
1. Download and install Virtual Dub on your computer.
2. Launch Virtual Dub. Go to File and click on Open Video.
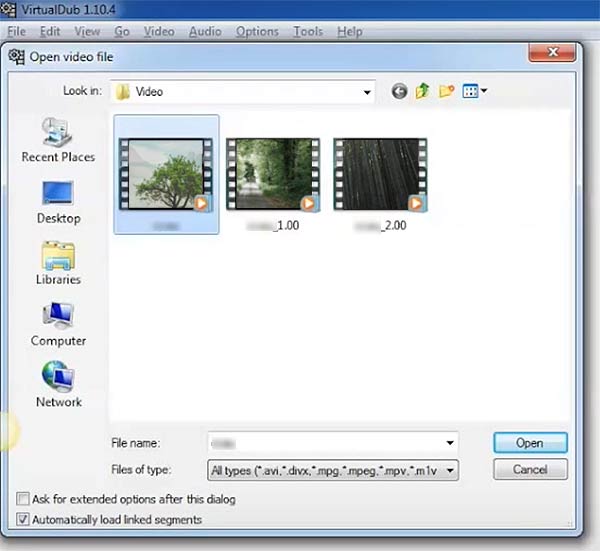
3. Click on the Video tab and select Full processing mode.
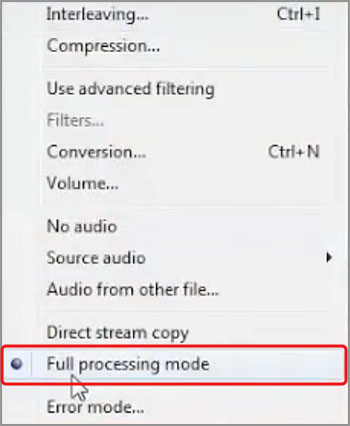
4. Click on the Video tab again and select Compression.
5. Choose a compatible codec from the list of available options. If you're not sure which codec to use, you can try the “Microsoft Video 1” codec, which is a widely used codec for AVI files.
6. Click on the OK button to apply the codec settings.
7. Click on the File menu and select Save as AVI to save the re-encoded file.
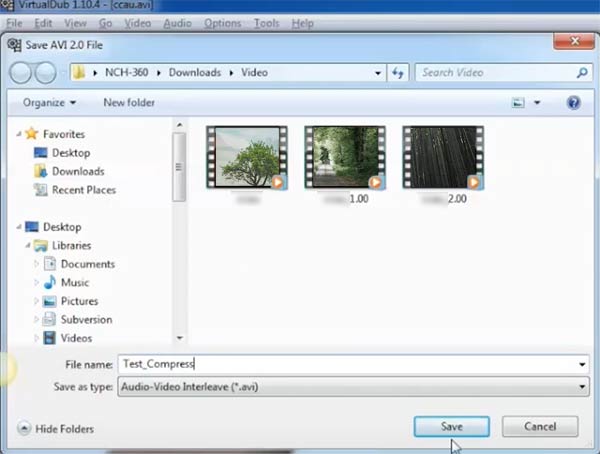
If the above steps do now work, try Stellar Video Repair.
3. Use iMovie to fix a corrupted MOV file
MOV files are a popular video format used by Apple devices, such as iPhones and Macs. One common issue with MOV files is a corrupted file. In such cases, you might not be able to transfer the file or upload it.

Here is how you can fix it.
1. Open iMovie.
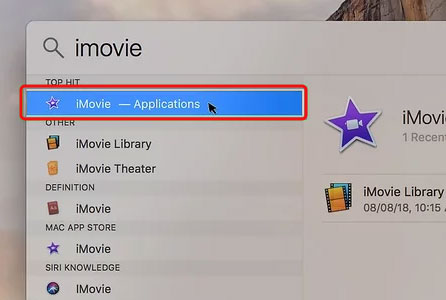
2. Go to File and click Import to import your corrupted MOV file.
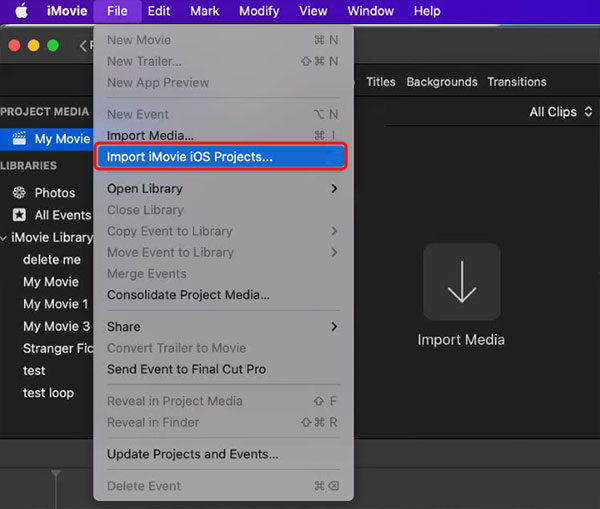
3. Drag it to the project timeline.
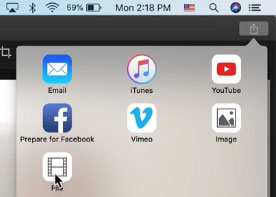
4. Click on the Share button and File.
5. Click Next.
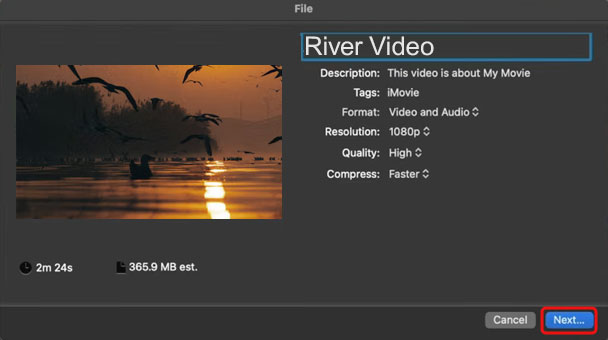
6. Save the file.
In case the file hasn’t been fixed, go to Stellar Video Recovery for Mac. The software supports macOS Big Sur, macOS Catalina, Mojave and older versions.
Also Read: How to Fix MOV File index?
4. Repair Broken or Truncated MKV Files using MKVToolNix
MKV can store multiple audio, video, and subtitle tracks in a single file. The most common problem is that MKV files can also become broken or truncated, causing playback issues.

Here is how you can use MKVToolNix to repair broken or truncated MKV files.
1. Download and install MKVToolNix on your computer.
2. Launch the program and click on the Add source files button to add the broken MKV file.
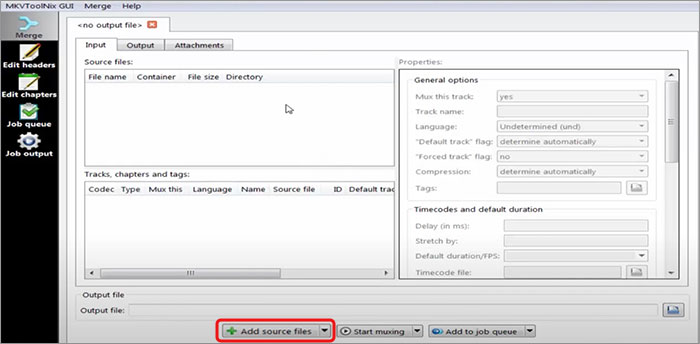
3. Select the broken MKV file from your computer and click on Open.
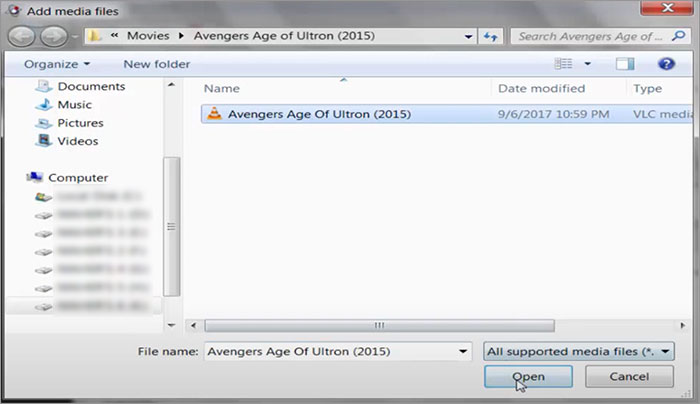
4. Once the file has been loaded, click on the Start muxing button to start the repair process.
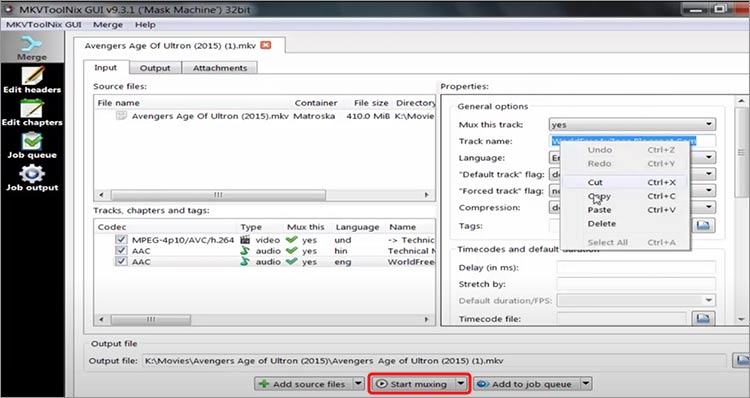
5. Wait for the process to finish. Once it's done, you should have a playable MKV file.
5. Convert the FLV file to a supported format using Adobe Media Encoder
FLV, or Flash Video, is a file format used for online streaming and video sharing. However, FLV files can also encounter playback issues due to unsupported codecs or broken/truncated data.
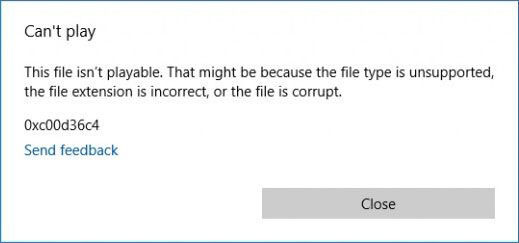
To fix this, use Adobe Media Encoder. Here’s how.
1. Launch Adobe Media Encoder on your computer.
2. Click on the + button on the top left-hand corner of the screen to add the FLV file.
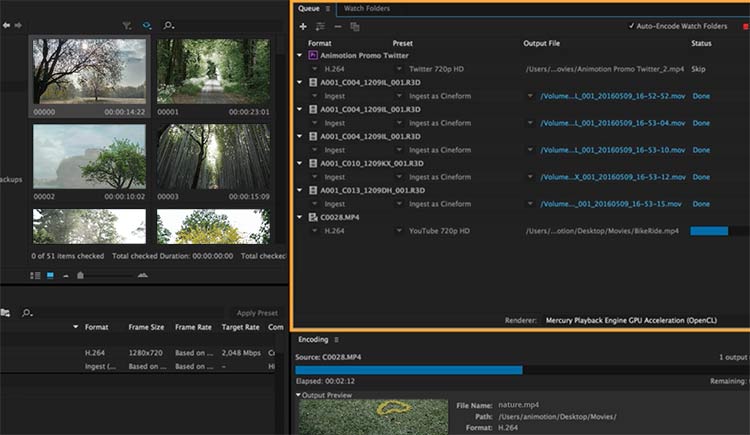
3. Select the FLV file you want to convert from your computer and click Open.
4. In the Output File section, choose where you want to save the converted file.
5. In the Format section, select the output format that you want to convert the FLV file to (e.g. MP4).

6. Adjust any other conversion settings as necessary, such as resolution or bitrate.
7. Click on the Start Queue button at the bottom right-hand corner of the window to begin the conversion process.

6. MTS files with errors are to use FFmpeg to convert them to a supported format
If you have a camcorder or camera that you use to record high-definition videos, it’s very likely that the video format is MTS. Like every other video format, However, MTS files can also encounter errors that make them unplayable or cause playback issues.
One solution to fix MTS files with errors is to use FFmpeg to convert them to a supported format. FFmpeg is a free and open-source multimedia framework that can be used to decode, encode, transcode, and stream audio and video files.
Here are the steps to convert MTS files using FFmpeg:
- Download and install FFmpeg on your computer.
- Open a command prompt or terminal window.
- Navigate to the directory where the MTS file is located using the cd command. Open FFmpeg.
- Write the file name then you add - C space copy so that both audio and video codecs get copied and then the output file name. As you can see in the first line in the image below.
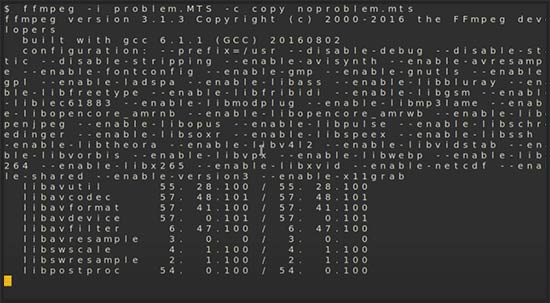
- This command will convert the MTS file to an MP4 file with H.264 video codec and AAC audio codec. You can adjust the codec settings and output format according to your needs.
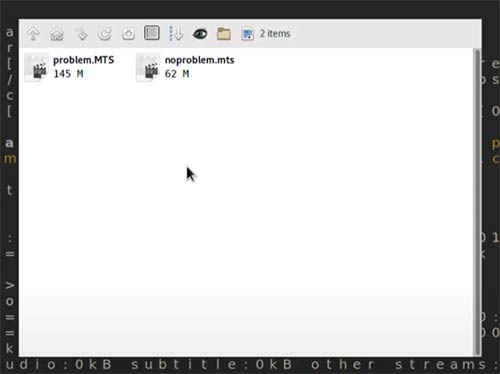
- Press Enter to start the conversion process.


